Cabinet paintingRepainting kitchen cabinets in Douglas instead of replacing them
Cabinets can be newer than the house around them if the kitchen has been remodeled, so the first question at any cabinet job is what the boxes and doors are made of. Douglas has a wide age range to draw from. Census estimates show 1,148 of its 3,497 housing units built in the 1980s and 1990s, 902 more since 2000, and 761 from 1939 or earlier. The age of the house is a starting clue about the cabinets, not an answer.
Reading the cabinet you have
Oak has an open, pronounced grain that shows through paint as a texture. Some people like that look; others want a smooth, furniture-like finish, which takes a grain filler before priming. Maple and birch have tight grain and take paint smoothly with less work. MDF doors paint very well on their faces, but their edges soak up primer and need sealing. Thermofoil and laminate doors are a different matter: the plastic skin can peel with heat and age, and paint does not fix a lifting skin.
In houses from before 1940, built-in cupboards and pantry cabinets may already have layers of old paint on them. If the house predates 1978, those layers may contain lead, and sanding them without containment can spread dust into the kitchen. Census estimates put 1,447 Douglas housing units (41.4%) in the years before 1980; the survey groups 1970–1979 together, so that count runs slightly past the 1978 lead cutoff, but in any house that old, testing cabinet paint before sanding is worth doing. Our lead-safe painting page explains the process.
Paint, refinish or replace?
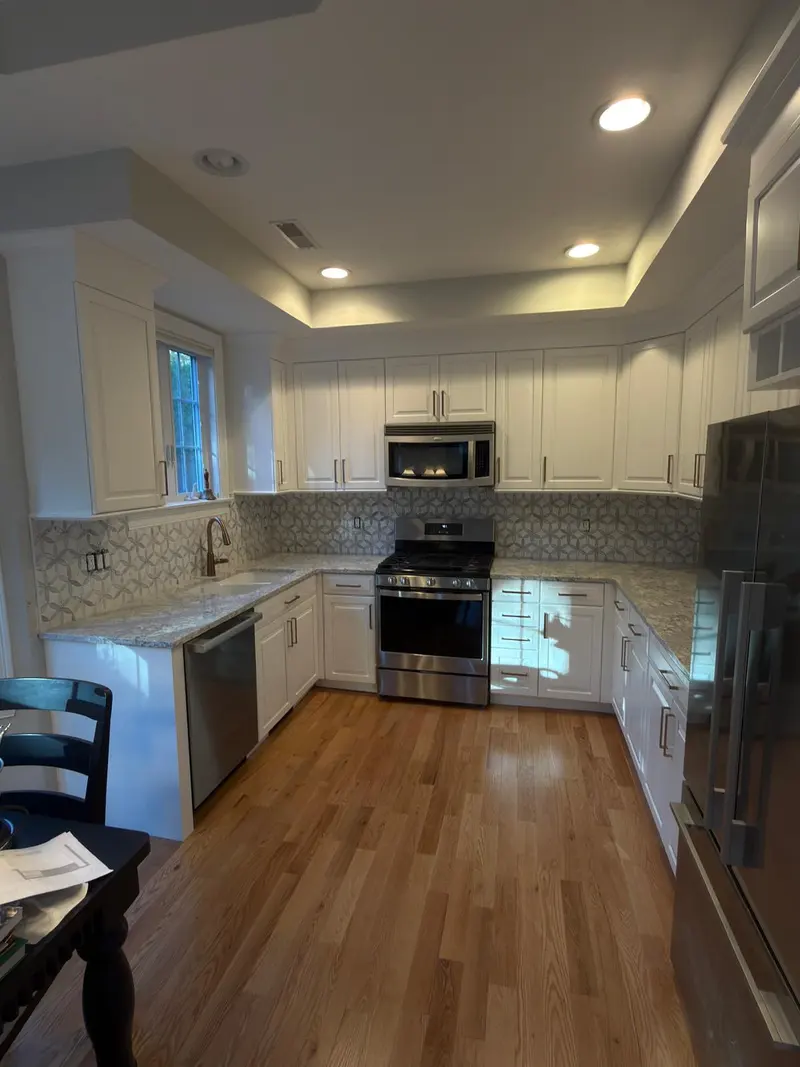
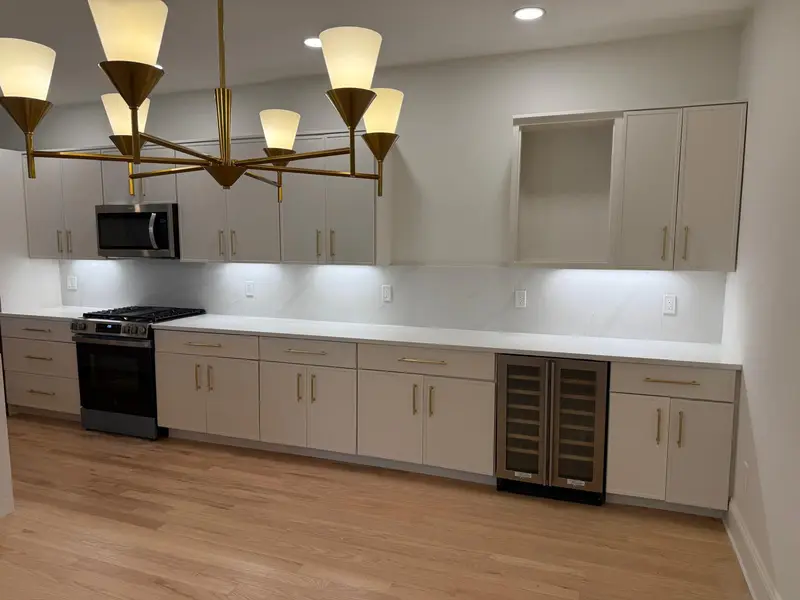
Painting makes sense when the boxes are solid wood or plywood, the doors are flat and not warped, and the layout still works for you. It changes color and sheen, and new hinges and pulls can update the look further. Replacement is the better path when the boxes are water-damaged particleboard, especially under the sink, when the doors have delaminated, or when you want to move appliances and change the footprint. Our comparison of cabinet painting versus replacement goes deeper on the trade-offs.
How the work is done
Cabinet paint has to stand up to hands, grease, steam and cleaning, so the prep matters more than on a wall. Kitchen grease is removed with a degreaser first, because primer will not bond to it. Doors and drawer fronts come off, get labeled, and are finished flat so the enamel levels without runs. The boxes are masked and painted in place.
Common finish choices are waterborne alkyd and urethane-modified acrylic enamels, which level like oil paint but clean up with water and yellow less over time. These products feel dry within hours but take weeks to cure fully, so doors are handled gently during that period. The full sequence is laid out in our kitchen cabinet painting process article.
- Remove doors, drawers and hardware, and label each piece
- Degrease, then scuff-sand every surface
- Fill dents and open grain where a smooth look is wanted
- Prime with a bonding primer suited to the existing finish
- Spray or brush two coats of cabinet-grade enamel
- Rehang doors, adjust hinges, install hardware
Scheduling and cost
A kitchen is out of commission for part of the job, so plan meals around the days the boxes are being painted. Price depends on the number of doors and drawers, the condition of the current finish, whether grain filling is wanted, and the island, pantry or bathroom vanities you add. The cabinet painting cost guide walks through those factors. AJ Painting is based in Ashland, licensed and insured, and offers a free on-site visit with a written estimate. Call (508) 258-4325, Monday to Saturday, 7 AM to 6 PM.
Douglas at a glance