Cabinet painting, WalthamRepainting kitchen cabinets instead of tearing them out
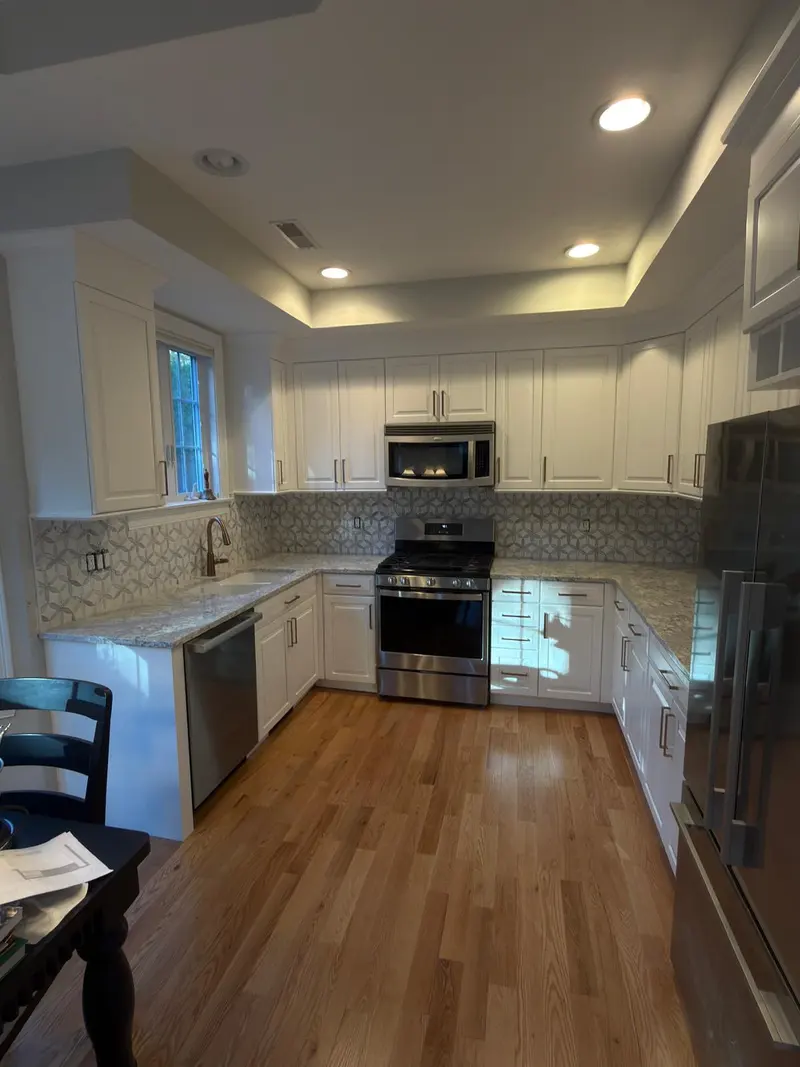
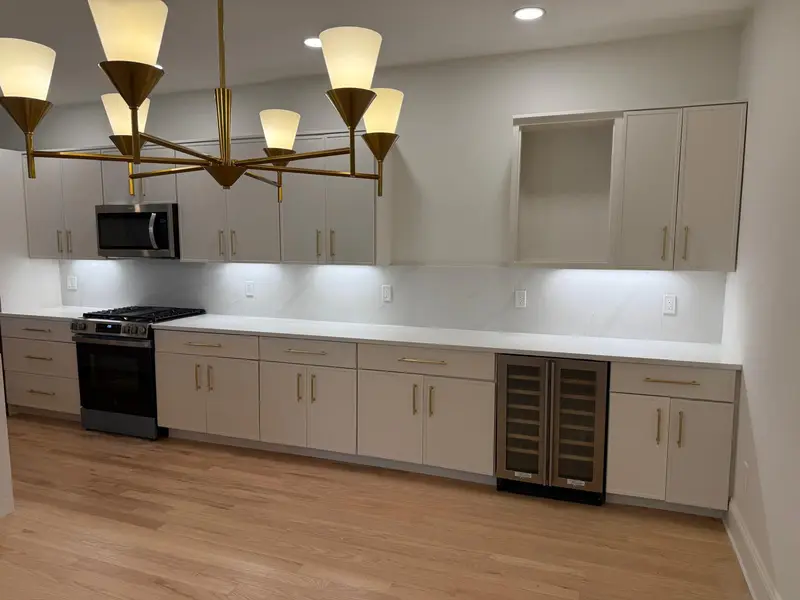
Owner-occupied homes here have a median value of $748,700, so a kitchen is worth thinking through before anything is torn out: replacing the cabinets and refinishing the ones you have are both real options. If the boxes are solid wood or plywood, square, and laid out in a way that works, paint can change the room for a fraction of the disruption of a remodel.
If the layout is wrong, the boxes are water-damaged particleboard, or the doors are thermofoil that is already peeling, new cabinets are the better money. Our comparison of painting versus replacing cabinets walks through that decision in more detail.
What kind of cabinets you likely have
The housing stock here spans two centuries. More homes date from the 1950s than any other decade after 1939, but a kitchen in a house of that age may have been redone since, so the cabinets could date from any later decade. Wood type matters more than age:
Red oak has open grain that shows through paint as a texture; it can be left that way or filled with a grain filler before priming for a smooth, furniture-like face. Maple and birch are tight-grained and paint smoothly. Cherry can bleed tannin and needs a stain-blocking primer. Laminate and thermofoil need a specific bonding primer, and thermofoil that has lifted should not be painted at all.
- Solid wood or plywood boxes: good candidates for paint
- Oak doors: decide on grain filling before the estimate
- Previously painted cupboards: check for lead and failing old layers
- Thermofoil with peeling edges: usually replace the doors
Built-in cupboards in pre-1940 houses
Over a quarter of homes in this city (28.3%) were built in 1939 or earlier. Houses that old can still have built-in pantry cupboards, china cabinets or butler's pantry shelving that were painted from the start and have been repainted many times. Those surfaces are different from a factory-finished kitchen: the paint may be thick, alligatored at the edges, and lead-bearing.
Unless the paint has been documented as lead-free, paid sanding of more than six square feet of paint per room in a pre-1978 home falls under the federal lead-safe rule. For old cupboards that usually means testing first, then wet sanding or chemical stripping with containment rather than dry power sanding. See our lead-safe painting page for how that work is set up.
The process from start to finish
A durable cabinet finish depends on adhesion, which comes from cleaning and sanding rather than from the paint itself. Kitchen grease is removed with a degreaser, surfaces are scuff-sanded, and a bonding primer goes on before two coats of a cabinet-grade enamel such as a waterborne alkyd or urethane-modified acrylic. Doors and drawer fronts are removed, labeled and finished flat so they level without runs; the face frames are done in place.
Hardware is a good time to reconsider. New pulls with a different hole spacing mean filling the old holes before priming. Our post on the kitchen cabinet painting process shows each step, and spray vs. brush vs. roller explains the finish each method gives.
Cabinets in condos and apartments
Nearly a third of housing units here (31.1%) are in buildings of five or more units. In a condo, your kitchen cabinets are inside your unit, but the building's rules can still shape the job: allowed work hours, elevator reservations, where doors can be set up to dry, and whether spraying is allowed inside. Check the bylaws or ask the manager before scheduling.
Nearby, the Moody Street and Bleachery pages describe areas with many large buildings. If the rest of the kitchen needs paint too, the interior painting page covers walls and trim.
Waltham at a glance