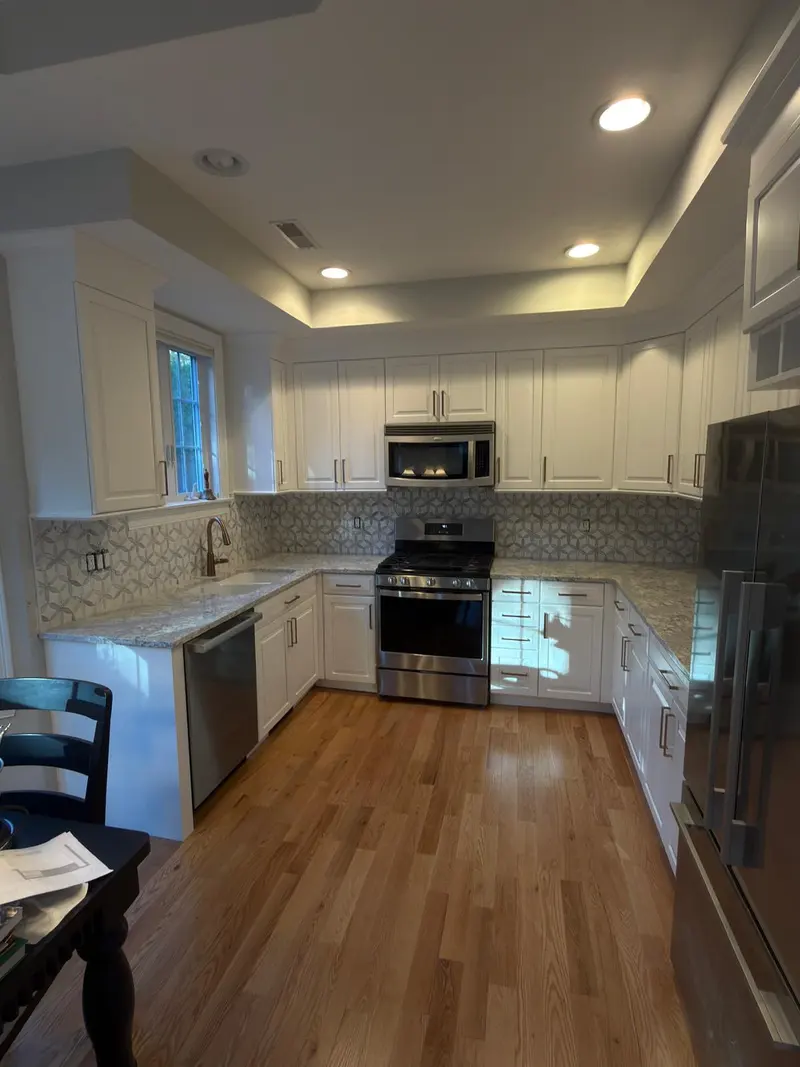
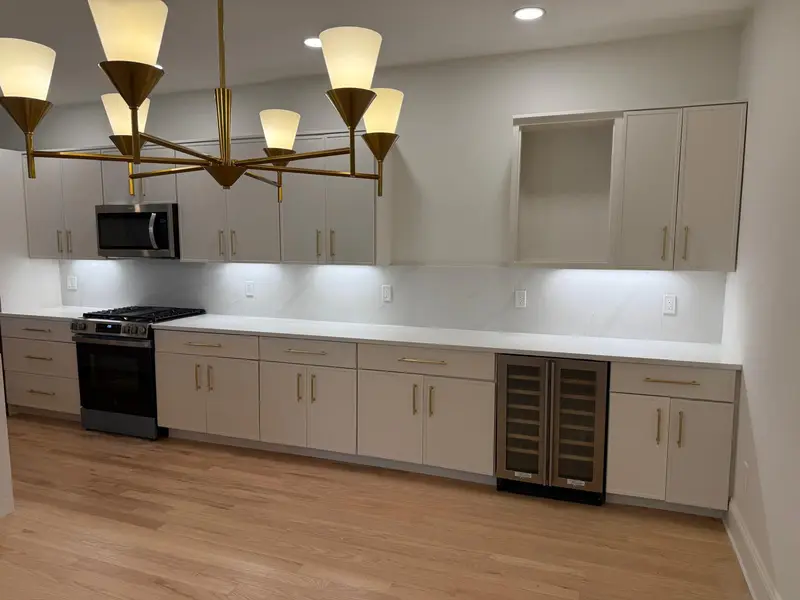
Cabinet painting, RandolphRepainting kitchen cabinets in a Randolph house instead of replacing them
More than a third of the town's housing units date from the middle of the last century: census figures show 2,207 units built in the 1950s and 2,542 in the 1960s, together 36.3% of all units, plus another 1,986 from the 1980s. The 2013 preservation plan describes the postwar building as mostly modest ranches and Capes. Sixty or seventy years on, the cabinets in those houses could be originals, a 1980s or 1990s remodel, or something newer, and each calls for a different approach.
Painting makes sense when the cabinet boxes are solid and the layout works for you. If the doors are warped, the boxes are swollen from a leak, or you want to move the sink or add an island, painting won't fix the real problem. Our blog post on cabinet painting vs. replacement walks through that decision.
Identify the material first
Solid wood and wood veneer take paint well once they are degreased, scuff-sanded and primed. Oak has deep, open grain that shows through paint as texture; if you want a smooth, furniture-like finish, the grain needs to be filled before priming. Maple and birch have tighter grain and need less filling.
Thermofoil, a vinyl film wrapped over a fiberboard core, is a different case. If the film is peeling at the edges, paint will not hold it down. Laminate and melamine can be painted with a specialty bonding primer, but they need careful testing. Cabinets that already carry an older painted finish need a check of what that paint is, since oil-based enamel needs a bonding primer before a waterborne topcoat.
Older kitchens and lead
Of Randolph's 13,080 housing units, the census counts 9,099 as built before 1980. If your cabinets were painted on site in a house from before 1978, those early coats may contain lead, and sanding them is exactly the kind of work the EPA's RRP rule covers. A certified painter sets up containment around the kitchen, uses HEPA-filtered sanding or wet methods, and cleans and verifies the area before you cook there again. Factory-finished cabinets installed in later remodels are less of a concern, but a test settles the question. See our lead-safe painting page for the details.
How the work goes
Doors and drawer fronts come off, get labeled, and are finished flat so the paint levels without runs. The boxes are painted in place with the counters, floor and appliances covered. Hinges and pulls go into marked bags, unless you are switching hardware, in which case old holes are filled first.
Cabinet paint needs time. A coat can feel dry in an hour but takes days to weeks to fully harden, so doors are rehung gently and the kitchen should be used with care for the first stretch. Our post on the kitchen cabinet painting process lays out each step.
- Degrease with a cleaner made for kitchen grime
- Scuff-sand, fill dents and, where wanted, oak grain
- Bonding or stain-blocking primer
- Two finish coats of a hard-curing cabinet enamel
The rest of the room
Freshly painted cabinets can make tired walls and ceilings stand out. If you want the whole kitchen done, the interior painting page for Randolph covers walls, ceilings and trim. Bathroom vanities and built-in cabinets in dining rooms or hallways can be painted with the same system.
Randolph at a glance