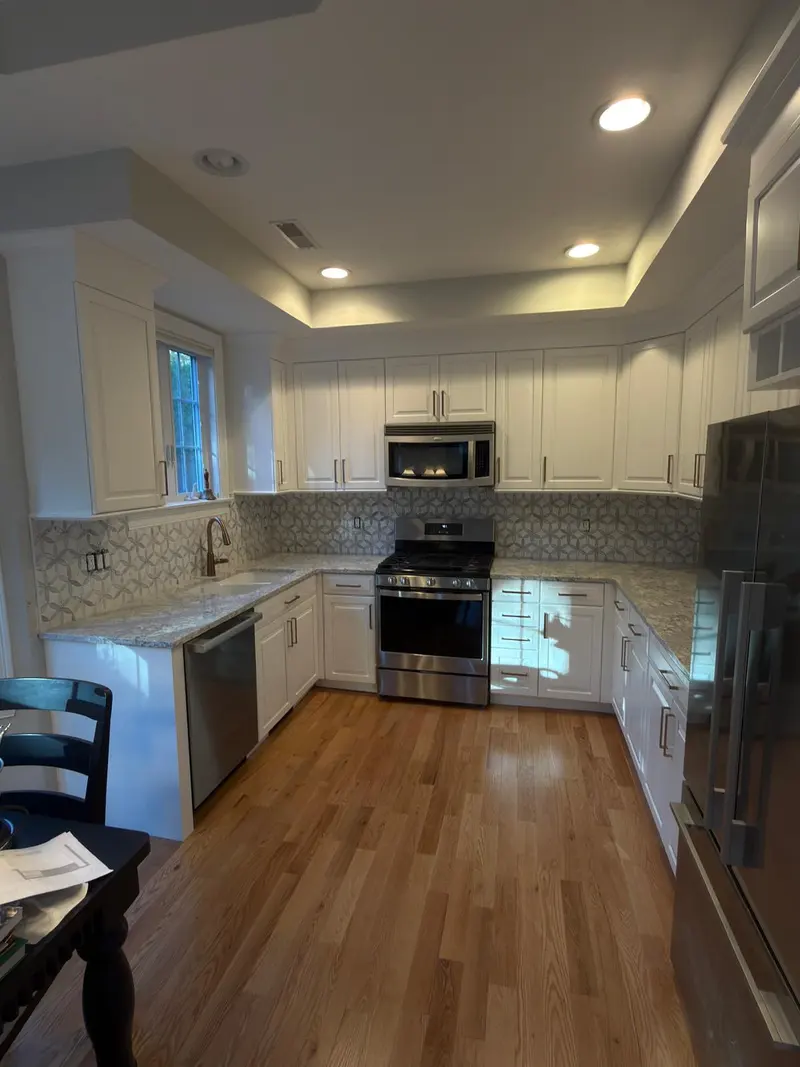
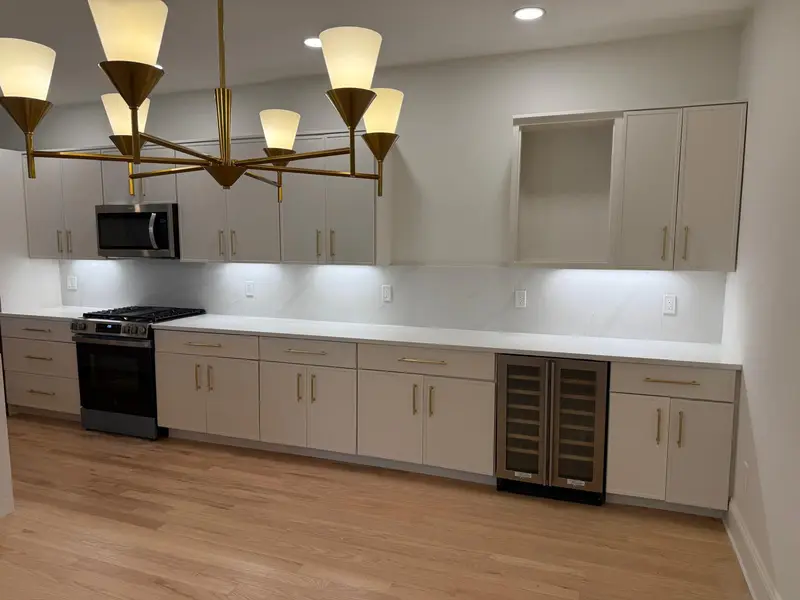
Cabinet painting, Carlisle MARefinishing the cabinets in a Carlisle kitchen instead of replacing them
Cabinets tell you when a kitchen was last remodeled more than the house's build date does. Still, the build date sets the starting point. The Census counts about 37% of local housing units from the 1960s and 1970s and another 24.4% from the 1980s, the single largest decade. A kitchen in one of those houses may still have its original boxes, or boxes from a remodel a few decades back, and the question is whether they are worth refinishing.
Painting makes sense when the cabinet boxes are solid wood or good plywood, the doors are flat and tight on their hinges, and the layout works for how you cook. It makes less sense when shelves sag, particleboard has swelled near the sink, or you want to move appliances. The cabinet painting vs. replacement article goes through that decision in more depth.
Matching the method to the wood and the old finish
Kitchen grease is the hidden adhesion problem. Every surface is degreased before sanding, because sanding a greasy door only drives the residue into the scratches.
- Open-grain oak: the grain shows through paint unless it is filled first, so decide whether you want texture or a smooth face
- Maple, cherry and birch: tight grain that takes paint smoothly once the factory finish is scuffed
- Thermofoil or laminate doors: need a specialty bonding primer, and peeling foil cannot be painted over
- Previously painted doors: tested for adhesion; failing coats are stripped instead of buried
- Doors in a pre-1978 house with old paint on them: handled under lead-safe rules before any sanding
The steps that make a cabinet finish last
Doors and drawer fronts come off, get labeled by position, and are finished flat on racks so the enamel levels without runs. The boxes stay in place and are masked, cleaned, sanded and primed where they stand. Hinges and pulls are bagged by location so each door goes back where it started.
A primer made to grip slick finishes goes on first, followed by two coats of a cabinet-grade enamel. These products feel dry within hours but take longer to cure fully, so the first stretch after reinstallation is a time for gentle use. The kitchen cabinet painting process post lays out each stage.
Older kitchens and lead dust
If the house was built before 1978 and the cabinets have been painted before, the bottom layers may contain lead. Under EPA's Renovation, Repair and Painting Rule, paid work in such a home that disturbs more than six square feet of paint in a room follows lead-safe practices, and a full set of kitchen doors is far larger than that. Factory-finished stained cabinets with no paint history are a different case. The lead-safe painting page explains testing and containment.
Living with a kitchen project on a well and septic
Carlisle has no municipal water or sewer, so homes depend on private wells and septic systems. Water-based primers and enamels clean up with water, but that wash water carries paint solids. Ask how brushes, rollers and spray equipment will be cleaned and where the rinse water will go, rather than assuming the kitchen sink is fine.
Plan for the kitchen to be partly out of use while the boxes are coated and the doors dry elsewhere. If walls or trim nearby need paint as well, the interior painting page covers that work, and doing both together means the room is masked once.
Carlisle at a glance