Cabinet painting, Boxborough MAPainting the cabinets that came with a 1970s or 1990s Boxborough kitchen
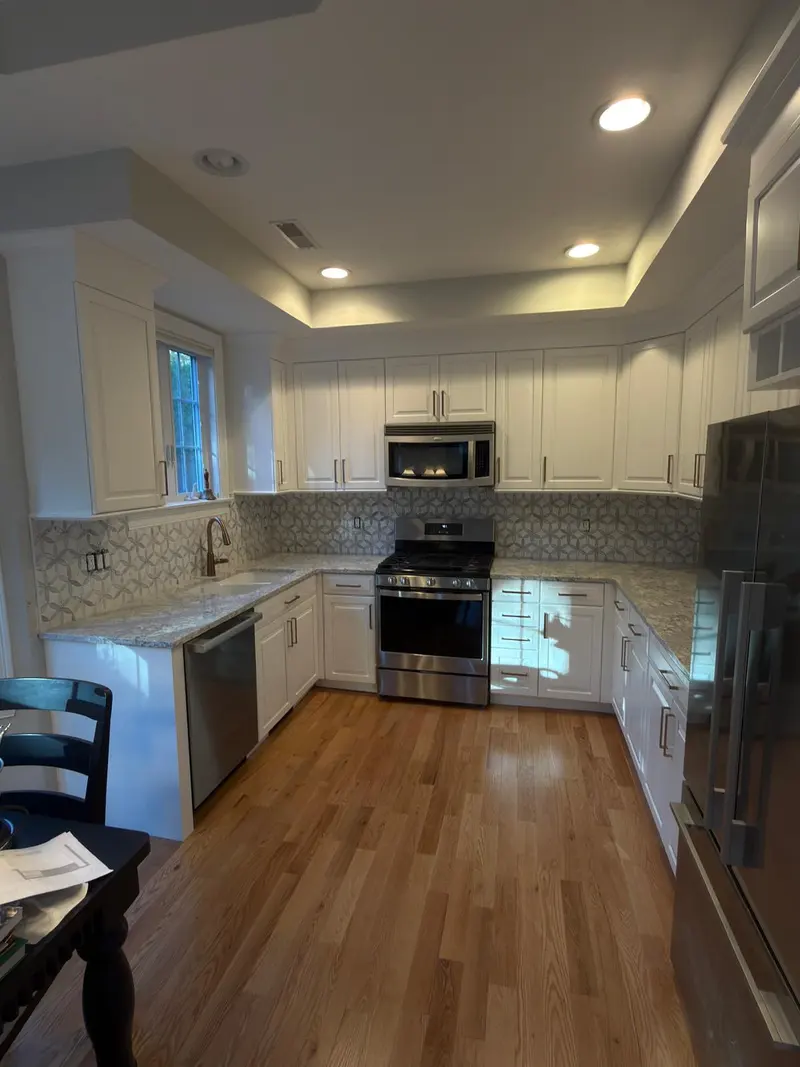
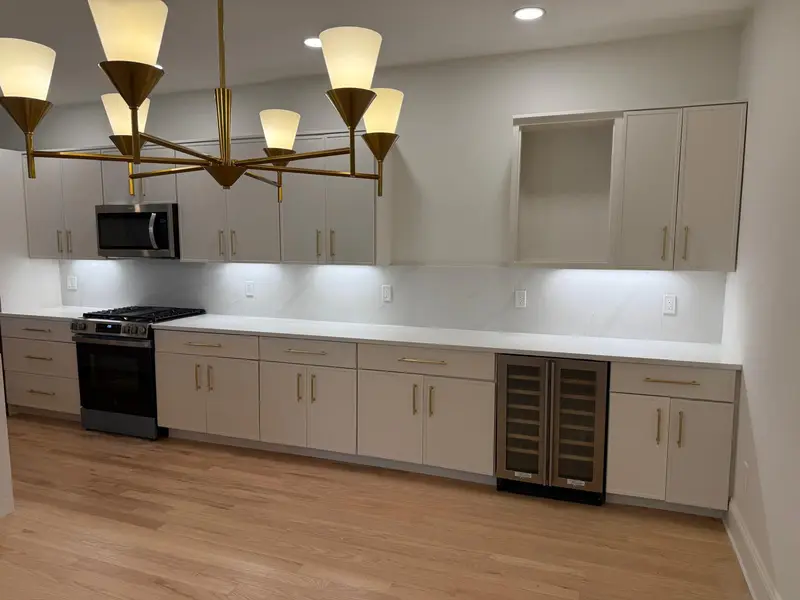
A kitchen that has never been remodeled is as old as the house, and Boxborough's houses cluster in two eras. The Census counts 567 local units built in the 1970s and 685 built in the 1990s, together just over half the housing stock. A kitchen from either decade can have sturdy cabinet boxes that are still square and level, with only the finish looking dated. That is the case where painting is worth considering: the structure stays, the color and hardware change, and the counters and plumbing are not disturbed.
Painting does not fix a layout that doesn't work, swollen particleboard under the sink, or drawers whose sides have come apart. If the boxes themselves are failing, money spent on finish is wasted. The cabinet painting vs. replacement post covers how to tell the difference.
What the existing finish tells you
Wood species matters as much as finish. Oak has open grain that shows through paint as a texture; owners who want a smooth, furniture-like look need a grain filler step before priming. Maple, birch and cherry are closed-grain and take paint smoothly, though cherry and some knotty woods can bleed tannin through light colors without a stain-blocking primer.
- Factory catalyzed lacquer or conversion varnish: hard and slick; needs scuff-sanding and a bonding primer to hold paint
- Site-applied oil varnish or polyurethane: found on some older custom work; degloss and prime with an oil-based or shellac primer
- Thermofoil (vinyl wrap) doors: paint adhesion is poor, and peeling foil cannot be painted over; replacement doors are usually the better path
- Previously painted cabinets: test adhesion with tape first; flaking paint must come off before new coats
Kitchens in pre-1978 houses
Close to half of local housing (45.8%) was built before 1980. If your kitchen cabinets were painted at some point before 1978, the lower layers could contain lead. Sanding a single kitchen's worth of doors can easily disturb more than the six square feet per room that triggers EPA lead-safe rules for paid work, so a test of any old painted layer comes before sanding. Stained and varnished cabinets that were never painted are a lower concern, but painted window stools and trim in the same room may still need attention. The lead-safe painting page explains the procedures.
How the work is sequenced
A typical sequence starts with labeling and removing the doors and drawer fronts for spraying away from the house, which gives the smoothest finish and keeps overspray out of the rooms. The cabinet boxes, face frames and end panels are cleaned with a degreaser, since paint does not bond well over cooking residue, then sanded, primed and finished by brush and fine roller in place. The kitchen stays usable for most of the job, though the area around the cabinets is masked off.
Cure time is the part owners underestimate. Most cabinet enamels feel dry within hours but take weeks to reach full hardness. Reinstalled doors should be closed gently, and rubber bumpers help keep them from sticking to the frames during that period. The kitchen cabinet painting process post lays out each step.
Condo kitchens
With 34.3% of the town's units in buildings of five or more units, condo kitchens are part of the picture. Cabinets inside a unit are generally the owner's, but the building's rules still matter: some associations prohibit spraying inside units, limit work hours, or ask for the contractor's certificate of insurance before work begins. Taking doors off-site for spraying is one way around an indoor spraying restriction.
Boxborough at a glance