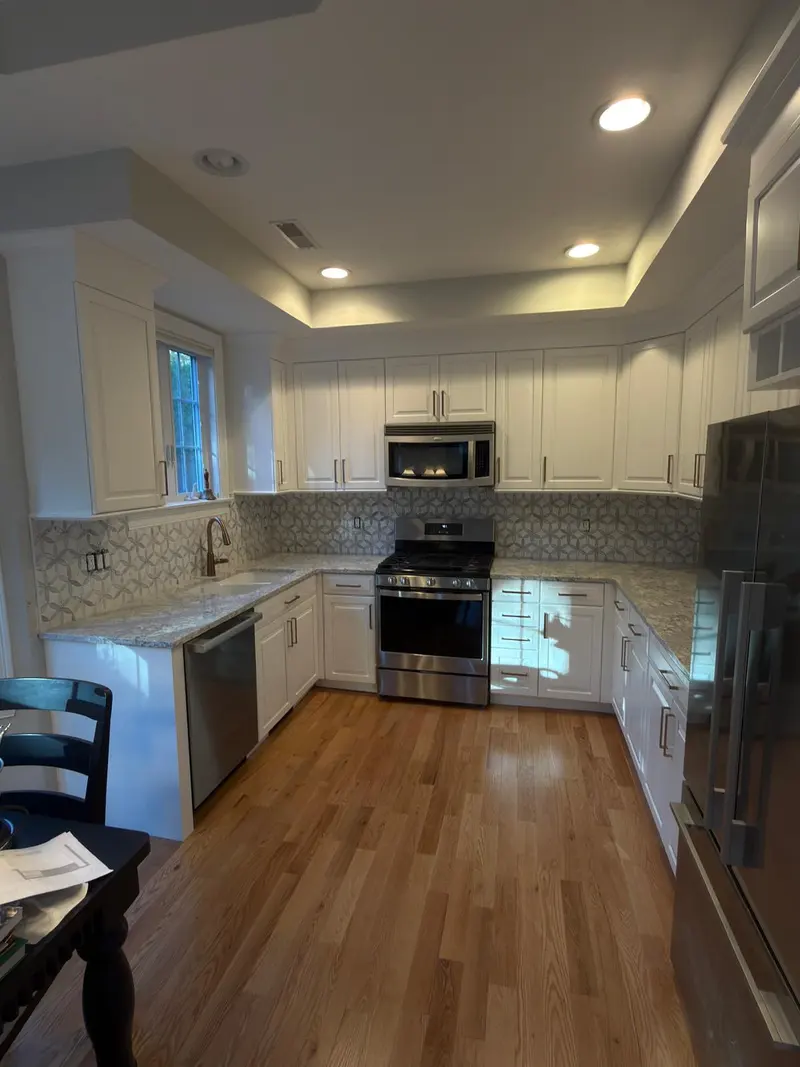
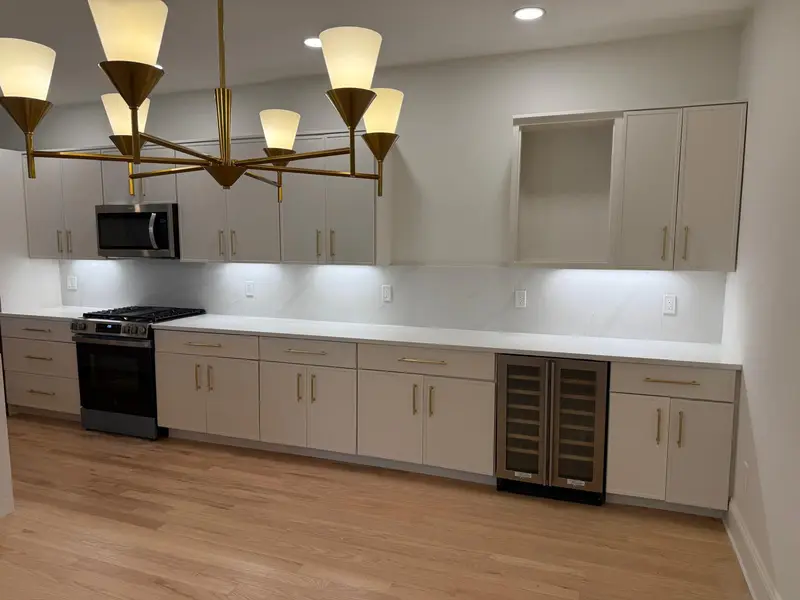
Cabinet painting, SomervilleRefinishing cabinets in kitchens from every Somerville building era
A Somerville kitchen can be almost any age. The census counts 59.0% of the city's housing units as built in 1939 or earlier, 20.8% built between 1940 and 1979, and 9.6% built in 2010 or later. The cabinets in front of you may be original to the house, a replacement from any decade since, or a newer set that came with a recent building or renovation.
That spread is the first thing to sort out, because the material and the old finish decide how a cabinet gets prepared. Solid wood and plywood boxes take primer and paint well once cleaned and scuffed. Particleboard with a thin wood or vinyl skin, and laminate or thermofoil doors, need a bonding primer at minimum, and some of them are better replaced than painted.
Old built-ins and painted cupboards
In a house from before 1940, the kitchen may have been redone several times, but pantries, dining-room hutches and bathroom cupboards are sometimes original. Pieces like these were often built in place from solid lumber and have been painted over and over. Their weak points are thick paint at door edges that keeps them from closing, and chipped layers that show every previous color.
Because those layers can predate 1978, sanding them may disturb lead paint. The federal RRP rule requires certified renovators and contained, dust-controlled methods on pre-1978 homes, so stripping or heavy sanding of an old built-in is set up like any other lead-safe job: plastic containment, HEPA vacuums and wet cleanup. The lead-safe painting page explains what that involves in Massachusetts.
Mid-century and later cabinet boxes
Cabinets installed from the 1950s onward are more likely to be factory-built: oak or maple faces, plywood or particleboard boxes, and a clear lacquer or varnish finish. The clear coat must be cleaned of grease, deglossed or scuffed, and primed with a product made to bond to it. Open-grain oak shows its texture through paint unless the grain is filled first, which is a choice to make before work starts, not after.
A durable result depends on the coating as much as the prep. Cabinet-grade enamels level out smoothly and harden over days; the doors can be handled sooner, but they keep curing for weeks. The kitchen cabinet painting process walks through each step, from labeling doors to reinstalling hardware.
- Doors and drawer fronts removed, labeled and finished off the boxes
- Degreasing, deglossing and bonding primer
- Grain filling on oak, if you want a smooth look
- Hinge and hardware changes before the final coat
Refinish or replace
Painting makes sense when the boxes are sound, the layout works and only the look is tired. Replacement makes sense when the boxes are water-damaged, the doors are delaminating, or you want a different layout. Our refinish-vs-replace comparison and the cabinet painting vs. replacement article lay out the trade-offs.
Paperwork is another difference. Somerville's Building Division requires a building permit for interior and exterior work with three exceptions: painting, tiling and flooring. Painting cabinets is covered by that exemption; tearing out a kitchen generally is not, so check with the division before planning a replacement.
Kitchens in shared buildings
With 55.2% of units in two- to four-unit buildings and 65.8% of occupied homes rented, many Somerville kitchens belong to a landlord rather than the person cooking in them. For a rental, a durable neutral color and standard hardware make later repairs simple. In a condo, cabinets inside the unit are typically yours to change, but spraying in a shared building may need ventilation planning and notice to neighbors; see condo painting in Somerville. Painting the rest of the room at the same time is covered on our interior painting page.
Somerville at a glance