Cabinet paintingPainting kitchen cabinets in houses from the 1700s to the 2000s
Kitchens are often remodeled independently of the rest of a house, so a construction date is only a rough guide to the age of the cabinets. Still, the Census gives a starting point. The 1980s were the town's largest building decade after the pre-war era, at 330 housing units, the 1970s added 236, and 269 units have gone up since 1990.
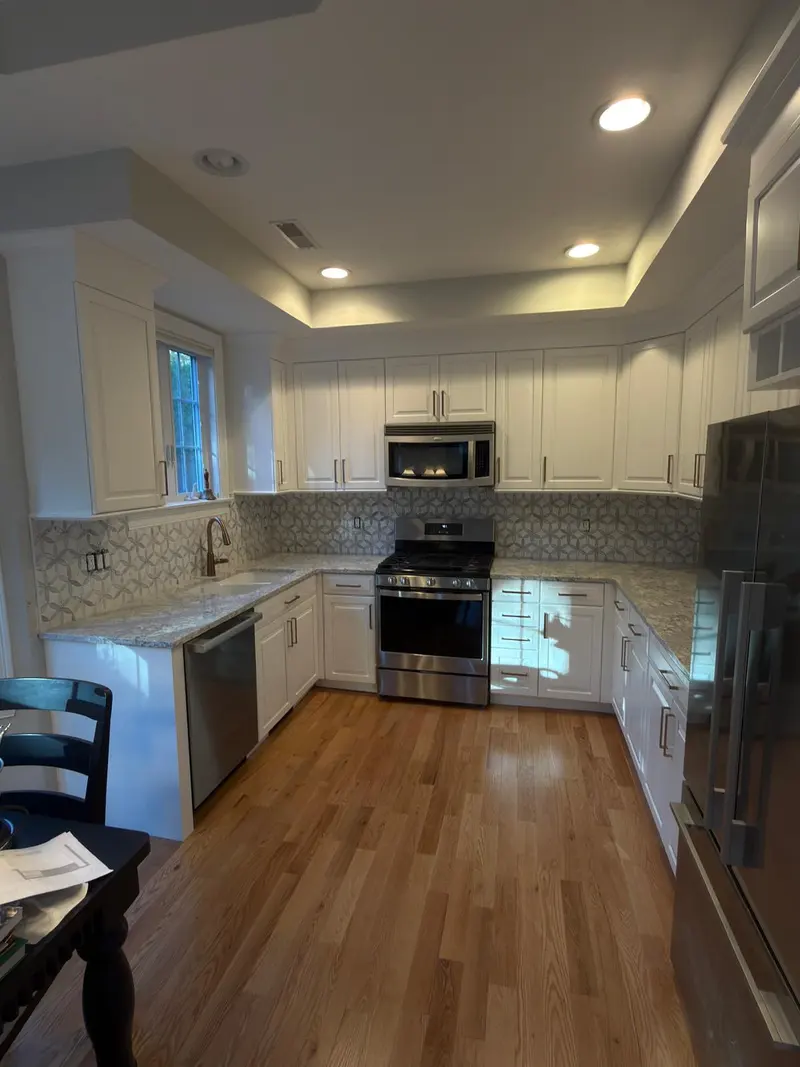
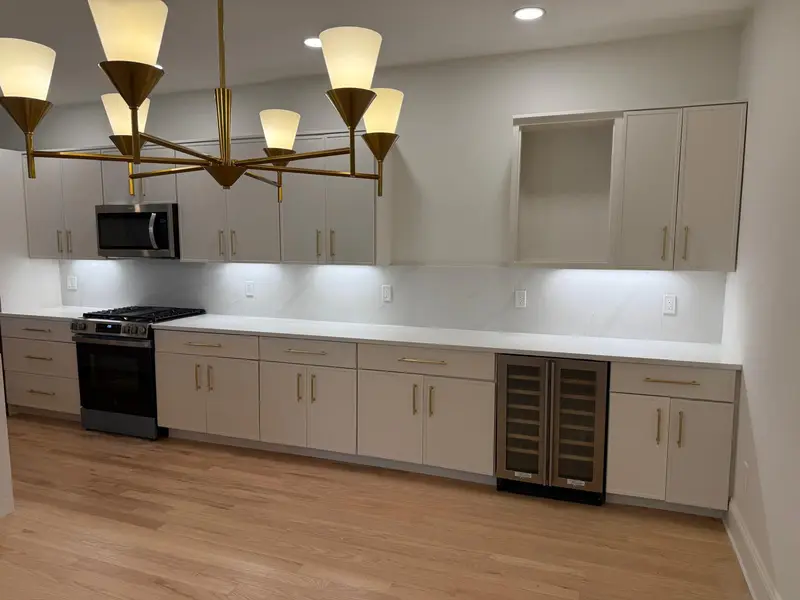
If your kitchen is original to a house from those decades, check what they are made of: solid wood, wood veneer over particleboard or plywood, or a vinyl-wrapped door. Wood and veneer can be painted. The real question is whether the boxes are sound and the layout still works for you, because paint changes the color and finish of the cabinets but not their size or position.
Paint or replace?
Painting makes sense when the boxes are square, the doors close properly and you can live with the current layout. Replacement makes more sense when shelves are sagging, particleboard has swollen around the sink or you want to move appliances. Our post on cabinet painting versus replacement lays out the tradeoffs.
New hinges and pulls can be part of the job. If the new hardware has a different hole spacing, the old holes are filled and sanded before priming so they don't show through the finish.
Oak grain, maple and thermofoil
Oak has open grain that shows through paint as a texture. Some people like that look; for a smooth, furniture-like finish, the grain is filled before priming. Maple and birch are tight-grained and paint smoothly, but their hard surfaces need careful sanding so primer can grip. Thermofoil and some laminates are vinyl or plastic skins. They take paint poorly and tend to peel at the edges, so those doors are usually better replaced than painted.
Kitchen grease is the hidden problem on every species. Years of cooking leave a film near the range and on the handles, and paint will not bond to it. Degreasing comes before any sanding, so the sander doesn't push the grease further into the wood.
- Remove doors, drawer fronts and hardware; label each piece
- Degrease, scuff-sand and vacuum all surfaces
- Fill grain or old hardware holes where needed
- Prime with a bonding primer, then apply enamel in thin coats
Built-ins and pantries in older houses
The town also has 410 housing units built in 1939 or earlier, and some date back to the 1700s. Houses that old may have painted pantry cupboards, china cabinets or built-in shelving that predates any modern kitchen. Those pieces often carry several coats of old paint.
With 57.7% of the town's housing units built before 1980, it is reasonable to test old painted cabinetry before sanding it. If lead is present, sanding follows the containment and cleanup steps on our lead-safe painting page. Factory finishes on cabinets installed in the 1980s or later are unlikely to contain lead, since lead paint was banned for homes in 1978, but a salvaged or reused piece can be older than the kitchen it sits in.
Living with the kitchen during the job
If you plan to keep cooking during the project, doors and drawer fronts can be finished off-site while the boxes are painted in place, with the counters, floor and appliances covered. Enamel feels dry within hours but needs days to harden fully, so cabinets should be used gently for the first week.
Our kitchen cabinet painting process post goes through each step. AJ Painting Services is based in Ashland, licensed and insured, and the on-site visit and written estimate are free. If the walls around the cabinets need painting too, see interior painting in Princeton.
Princeton at a glance