Cabinet painting, Northbridge MAIs your Northbridge kitchen a good candidate for painted cabinets?
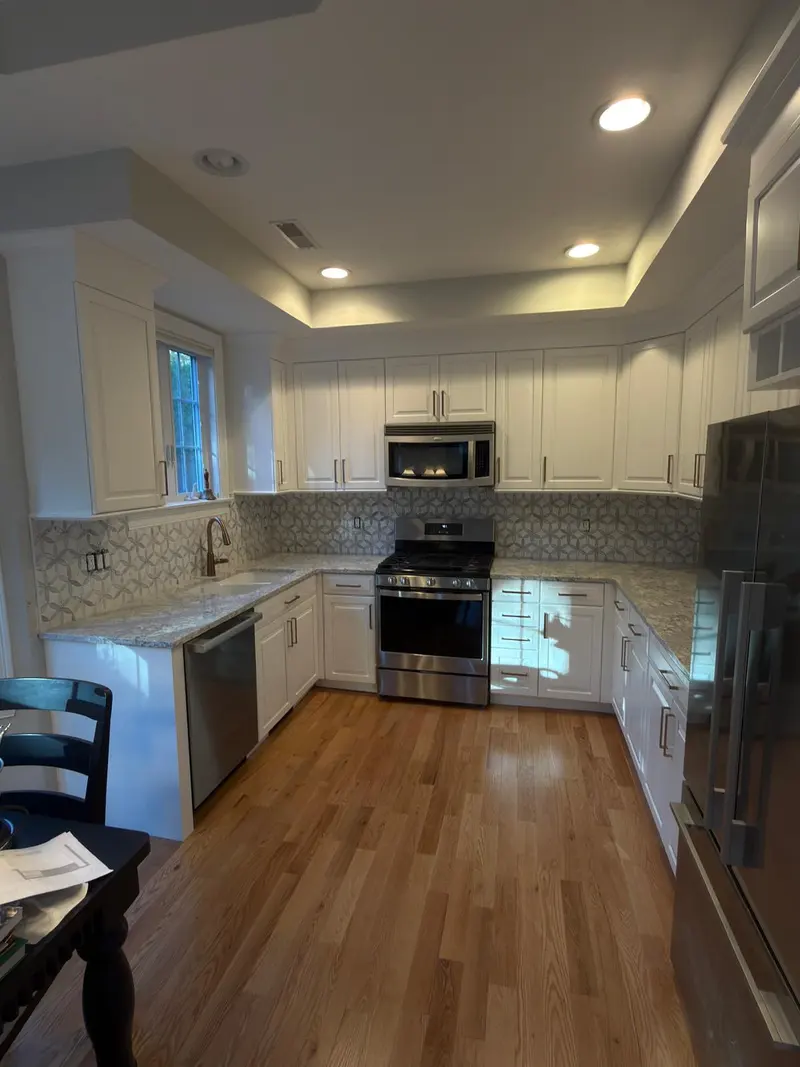
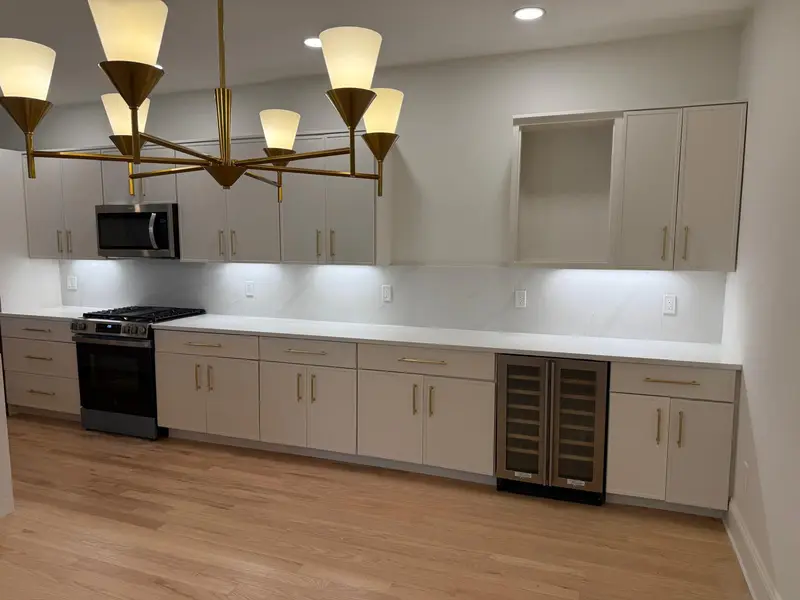
Cabinet painting works when the boxes are solid and the layout still suits you. It does not fix a kitchen that is too small, sagging shelves, or doors that have delaminated. The age of the house says a lot about which of those you are likely to find.
Local housing was built in waves. Census counts show 693 units from the 1950s, 610 from the 1960s and 564 from the 1970s, then a bigger push of 997 in the 1980s and 965 in the 1990s, followed by 690 in the 2000s. Unless a kitchen has been redone since, its cabinets date from whichever decade the house did.
Kitchens from the 1980s and 1990s
Nearly 2,000 local housing units went up in those two decades. If your cabinets from that period are solid oak with an orange-toned clear finish, they paint well, but oak has open grain that shows through paint as a texture. That texture is a look in its own right; a smooth, furniture-like face instead takes a grain filler before priming.
Doors with a thin wood-look laminate or thermofoil wrap are another story. Paint will not hold on a peeling wrap, and on those the honest answer may be new doors on the existing boxes.
Mid-century and older kitchens
In houses built before 1980, which make up 55.9% of the local stock, the cabinets may be site-built painted wood or factory units that have already been painted once or twice. Layers of old enamel chip at the edges and need to be sanded smooth so they do not show under the new finish.
That sanding is where lead becomes an issue. If the painted cabinets are original to a pre-1978 kitchen, the first coats may contain lead. Sanding more than six square feet of that paint in one room, which a full set of doors and face frames easily exceeds, brings the work under the EPA's lead-safe rules for contractors. Doors can be stripped off-site and frames sanded under containment; our lead-safe painting page explains the steps.
How a durable cabinet finish is built
Cabinet enamel feels dry within hours but takes weeks to reach full hardness, so the first stretch of use calls for a light touch. Our article on the kitchen cabinet painting process goes step by step, and cabinet painting vs. replacement compares the two routes.
- Doors and drawer fronts removed, labeled, and finished separately from the boxes
- Degreasing every surface, since paint applied over cooking residue will not bond
- Scuff-sanding and a bonding primer suited to the existing finish
- Grain filler on oak if a smooth face is wanted
- Two coats of a cabinet-grade enamel, sprayed on doors for an even surface
- Hinges and hardware reinstalled, or new hardware fitted
Bathrooms, built-ins and the rest of the room
Bath vanities, mudroom lockers and built-in hutches take the same process. If the kitchen walls and ceiling need a refresh too, doing them once the cabinets are back in place keeps the color decisions together; see the interior painting page.
Northbridge at a glance
| Housing units built in the 1980s and 1990s | 1,962 (1980s 997; 1990s 965) (U.S. Census ACS 2020–2024 5-year, table B25034) |
| Housing units built 1950–1979 | 1,867 (1950s 693; 1960s 610; 1970s 564) (U.S. Census ACS 2020–2024 5-year, table B25034) |
| Housing units built before 1980 | 55.9% (4,007 of 7,173) (U.S. Census ACS 2020–2024 5-year, table B25034) |
| Lead-safe threshold for interior work | More than 6 sq ft of paint disturbed per room, pre-1978 homes (U.S. EPA, Renovation, Repair and Painting Program) |